Terraform blueprint for a Horizon7 Ruleset with VMC on AWS
In this blog post I will write about Terraform for VMC on AWS and NSX-T provider. I wrote over 800 lines of code, without any experience in Terraform or programming. Terraform is super nice and easy to learn!
First of all, all my test ran at a lab platform… Use following code at your own risk, I won't be responsible for any issues you may run into. Thanks!
We will use following Solutions:
Terraform Version 0.12.30
VMC on AWS
Terraform NSX-T provider
If you are completely new to Terraform, I highly recommend to read all Blog posts from my colleague Nico Vibert about Terraform with VMC on AWS. He did a awesome job in explaining!
So, what will my code do..?
My code will create several Services, Groups, and distributed firewall rules. All rules are set to "allow", so you shouldn't have any impact when you implement it. It should support you to create a secure Horizon Environment. After you applied it, you can fill all created groups with IPs/Server/IP-Ranges. But details later!
Before we start we need following Software installed:
My Repository can be cloned from here. I will skip the basic installation for git, go and terraform. I will jump directly to my repository and continue there.
First of all we need to clone the repository, open a terminal Window and use following command: git clone https://github.com/vmware-labs/blueprint-for-horizon-with-vmc-on-aws
tsauerer@tsauerer-a01 Blueprint_Horizon % git clone https://github.com/xfirestyle2k/VMC_Terraform_Horizon
Cloning into 'VMC_Terraform_Horizon'...
remote: Enumerating objects: 4538, done.
remote: Counting objects: 100% (4538/4538), done.
remote: Compressing objects: 100% (2935/2935), done.
remote: Total 4538 (delta 1459), reused 4520 (delta 1441), pack-reused 0
Receiving objects: 100% (4538/4538), 23.88 MiB | 5.92 MiB/s, done.
Resolving deltas: 100% (1459/1459), done.
Updating files: 100% (4067/4067), done.
CD to the blueprint-for-horizon-with-vmc-on-aws/dfw-main folder, with following command: cd blueprint-for-horizon-with-vmc-on-aws/dfw-main
tsauerer@tsauerer-a01 VMC_Terraform_Horizon % ls -l
total 88
-rw-r--r--@ 1 tsauerer  staff   1645 Jun 10 10:04 README.md
-rw-r--r--@ 1 tsauerer  staff  30267 Jun  9 10:45 main.tf
-rw-r--r--@ 1 tsauerer  staff    172 May 29 08:35 vars.tf
tsauerer@tsauerer-a01 VMC_Terraform_Horizon %
Let's test if Terraform is installed and working correctly, with "terraform init" we can initialize Terraform and provider plugins.
tsauerer@tsauerer-a01 VMC_Terraform_Horizon % terraform init

Initializing the backend...

Initializing provider plugins...

Terraform has been successfully initialized!

You may now begin working with Terraform. Try running "terraform plan" to see
any changes that are required for your infrastructure. All Terraform commands
should now work.

If you ever set or change modules or backend configuration for Terraform,
rerun this command to reinitialize your working directory. If you forget, other
commands will detect it and remind you to do so if necessary.
Success, Terraform initialized succesfully. Next we need to check if we have the correct nsxt-provider.
tsauerer@tsauerer-a01 VMC_Terraform_Horizon_Backup % t version
Terraform v0.12.24
+ provider.nsxt v2.1.0
Great, we have the nsxt provider applied.

I recommend to use Visual Studio Code or Atom, which I'm using.
I created a new Project in Atom and select the folder which we cloned from github.
3 Files are importent, first "main.tf", here you can find the code or what will be done.

"Vars.tf", a description file for variables.

And the most importent file, which we have to create, because there, you will store all your secrets "terraform.tfvars".
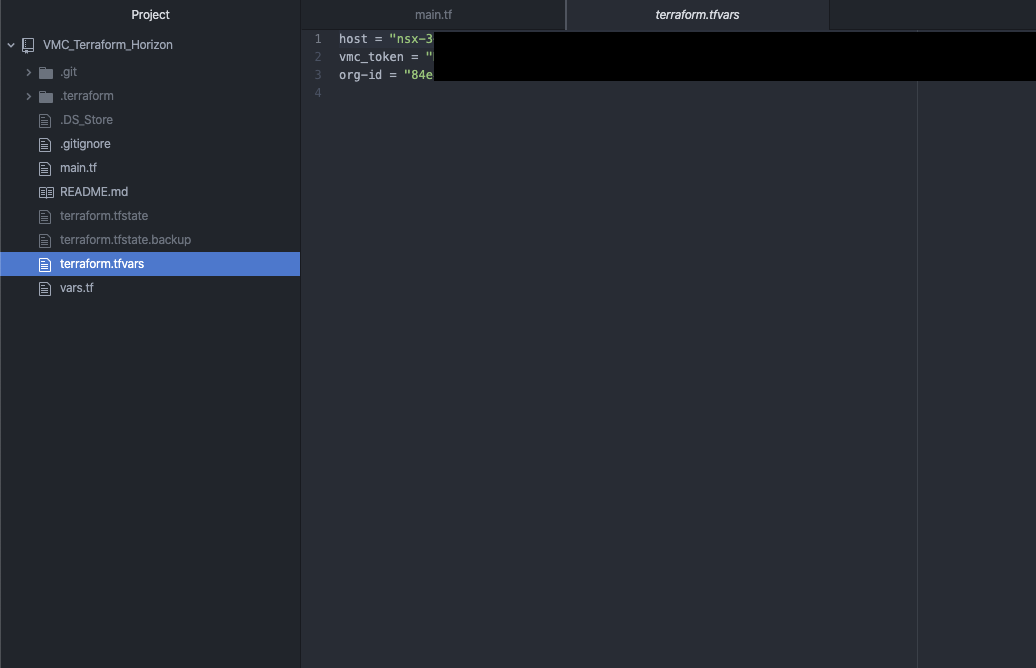
So what you have to do now, you need to create a new file and name it "terraform.tfvars". For NSX-T we only need 3 variables, we already saw them in the "vars.tf" file. So let's add
Host = ""
Vmc_token = ""
Org-id = ""
Don’t worry I will guide you where you can find all the informations. Let's find the Host informations. “Host” is kind of missleading in the world of VMware, what we need here is the NSX-T reverse proxy. Let's go to your SDDC and on the left side you can find "Developer Center"

Go to "API Explorer" choose your SDDC which you want to use and go to "NSX VMC Policy API". On the left the "base URL" is your NSX-reverse proxy URL.

Copy the URL and paste it to your "terraform.tfvars" file between the quotation marks. Here a small hint, because it took me some hour troubleshooting, you have to remove the "https://".. So it starts just with "nsx……..”
Host = "nsx-X-XX-X-XX.rp.vmwarevmc.com/vmc/reverse-proxy/api/orgs/84e"

Next we need our API Token. This token is dedicated to your Account, to create one, go to the top right, click on your name and go to "My Account".
On the last tab "API Token", we need to generate a new API Token.

Enter a Name, TTL period and your scope. I guess you only need "VMware Cloud on AWS" "NSX Cloud Admin", but I am not sure. My token had "All Roles". Generate the token, copy your generated token and safe it in a safe place! You will not be able to retrieve this token again.
vmc_token = "XXXXXXXXXXXXXXXXXXXXXXXXXXXXXXX"
Last we need the org-id. Just go to one of your SDDCs and look at the "support" tab, there you can find your org-id.
org-id = "XXXXXXXXX-XXXX-XXXX-XXXX-XXXXXXXXX"
If you working with github, I would recommend to create a .gitignore and add "terraform.tfvars", so it will not be uploaded to your repository. Take care about this file, all your secrets are inside :)! In the end your file should have 3 lines:
Host = "nsx-X-XX-X-XX.rp.vmwarevmc.com/vmc/reverse-proxy/api/orgs/84e"
vmc_token = "XXXXXXXXXXXXXXXXXXXXXXXXXXXXXXX"
org-id = "XXXXXXXXX-XXXX-XXXX-XXXX-XXXXXXXXX"
Perfect, we finished the preparation! We are ready to jump into "main.tf" file.
I creating 24 Services, 16 groups and 11 Distributed Firewall Sections with several Rules, in the end you will need to fill the groups with IPs/Ranges/Server. I only focused on Horizon related services, groups and firewall rules yet, so if you want to have a allowlist firewall enabled, you have to add core Services, Groups and Firewall Rules like DNS, DHCP, AD etc. I will try to keep on working on my code to add all necessary stuff for a allowlist firewall ruleset, but for now it should give you a idea how to do it and support your work.
But lets start to plan and apply the code. If you closed your Terminal window, reopen the terminal window, jump to our location and re-initialize terraform, with “terraform init”.
With the command “terraform plan” you can review everything what terraform wants to do and also you can check if you created your secret file correctly.

you can see terraform wants to create a lot of stuff. With “terraform apply” you will get again everything what terraform wants to create and you need to approve it with “yes”. Afterwards you fired “yes”, you can lean back and watch the magic.. After some seconds you should see: Apply complete! Resources: XX added, 0 changed, 0 destroyed.

Let’s take a look into VMC after we applied our changes. First of all we created groups…. and we got groups!

next we need to check services…. and we got services as well!

Now we come to our Distributed Firewall. Bunch of sections are created with several Rules in each section. I only created allow rules and all groups are empty, so no rule should impact anything!

Success :)! We applied Groups, Services and several Rules including Groups and Services. If you have any trouble or think you want to get rid of everything what Terraform did, you can just simple go back to your terminal and enter “terraform destroy”. It will check your environment what changed or what needs to be deleted, and give you a overview what terraform wants to/will do. Approve it with “yes” and all changes will be destroyed. It take some seconds and you will see: Destroy complete! Resources: XX destroyed.

If you have any questions, problems or suggestions feel free to contact me!
Some ending words about Terraform.. Terraform is a awesome tool in the world of automation.. I had no experience with programming but it took me one or two weeks to get into it and I had so much fun to write this code! It is super easy and super useful! I hope this code will help you, save you work and will provide you as much fun as I had :).